

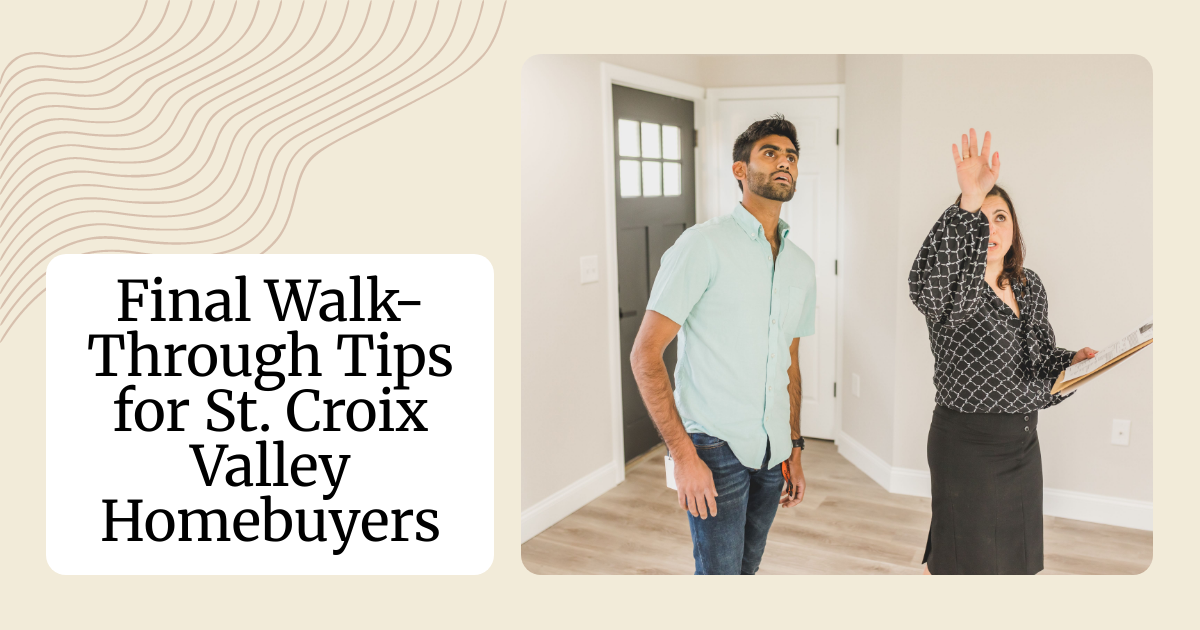
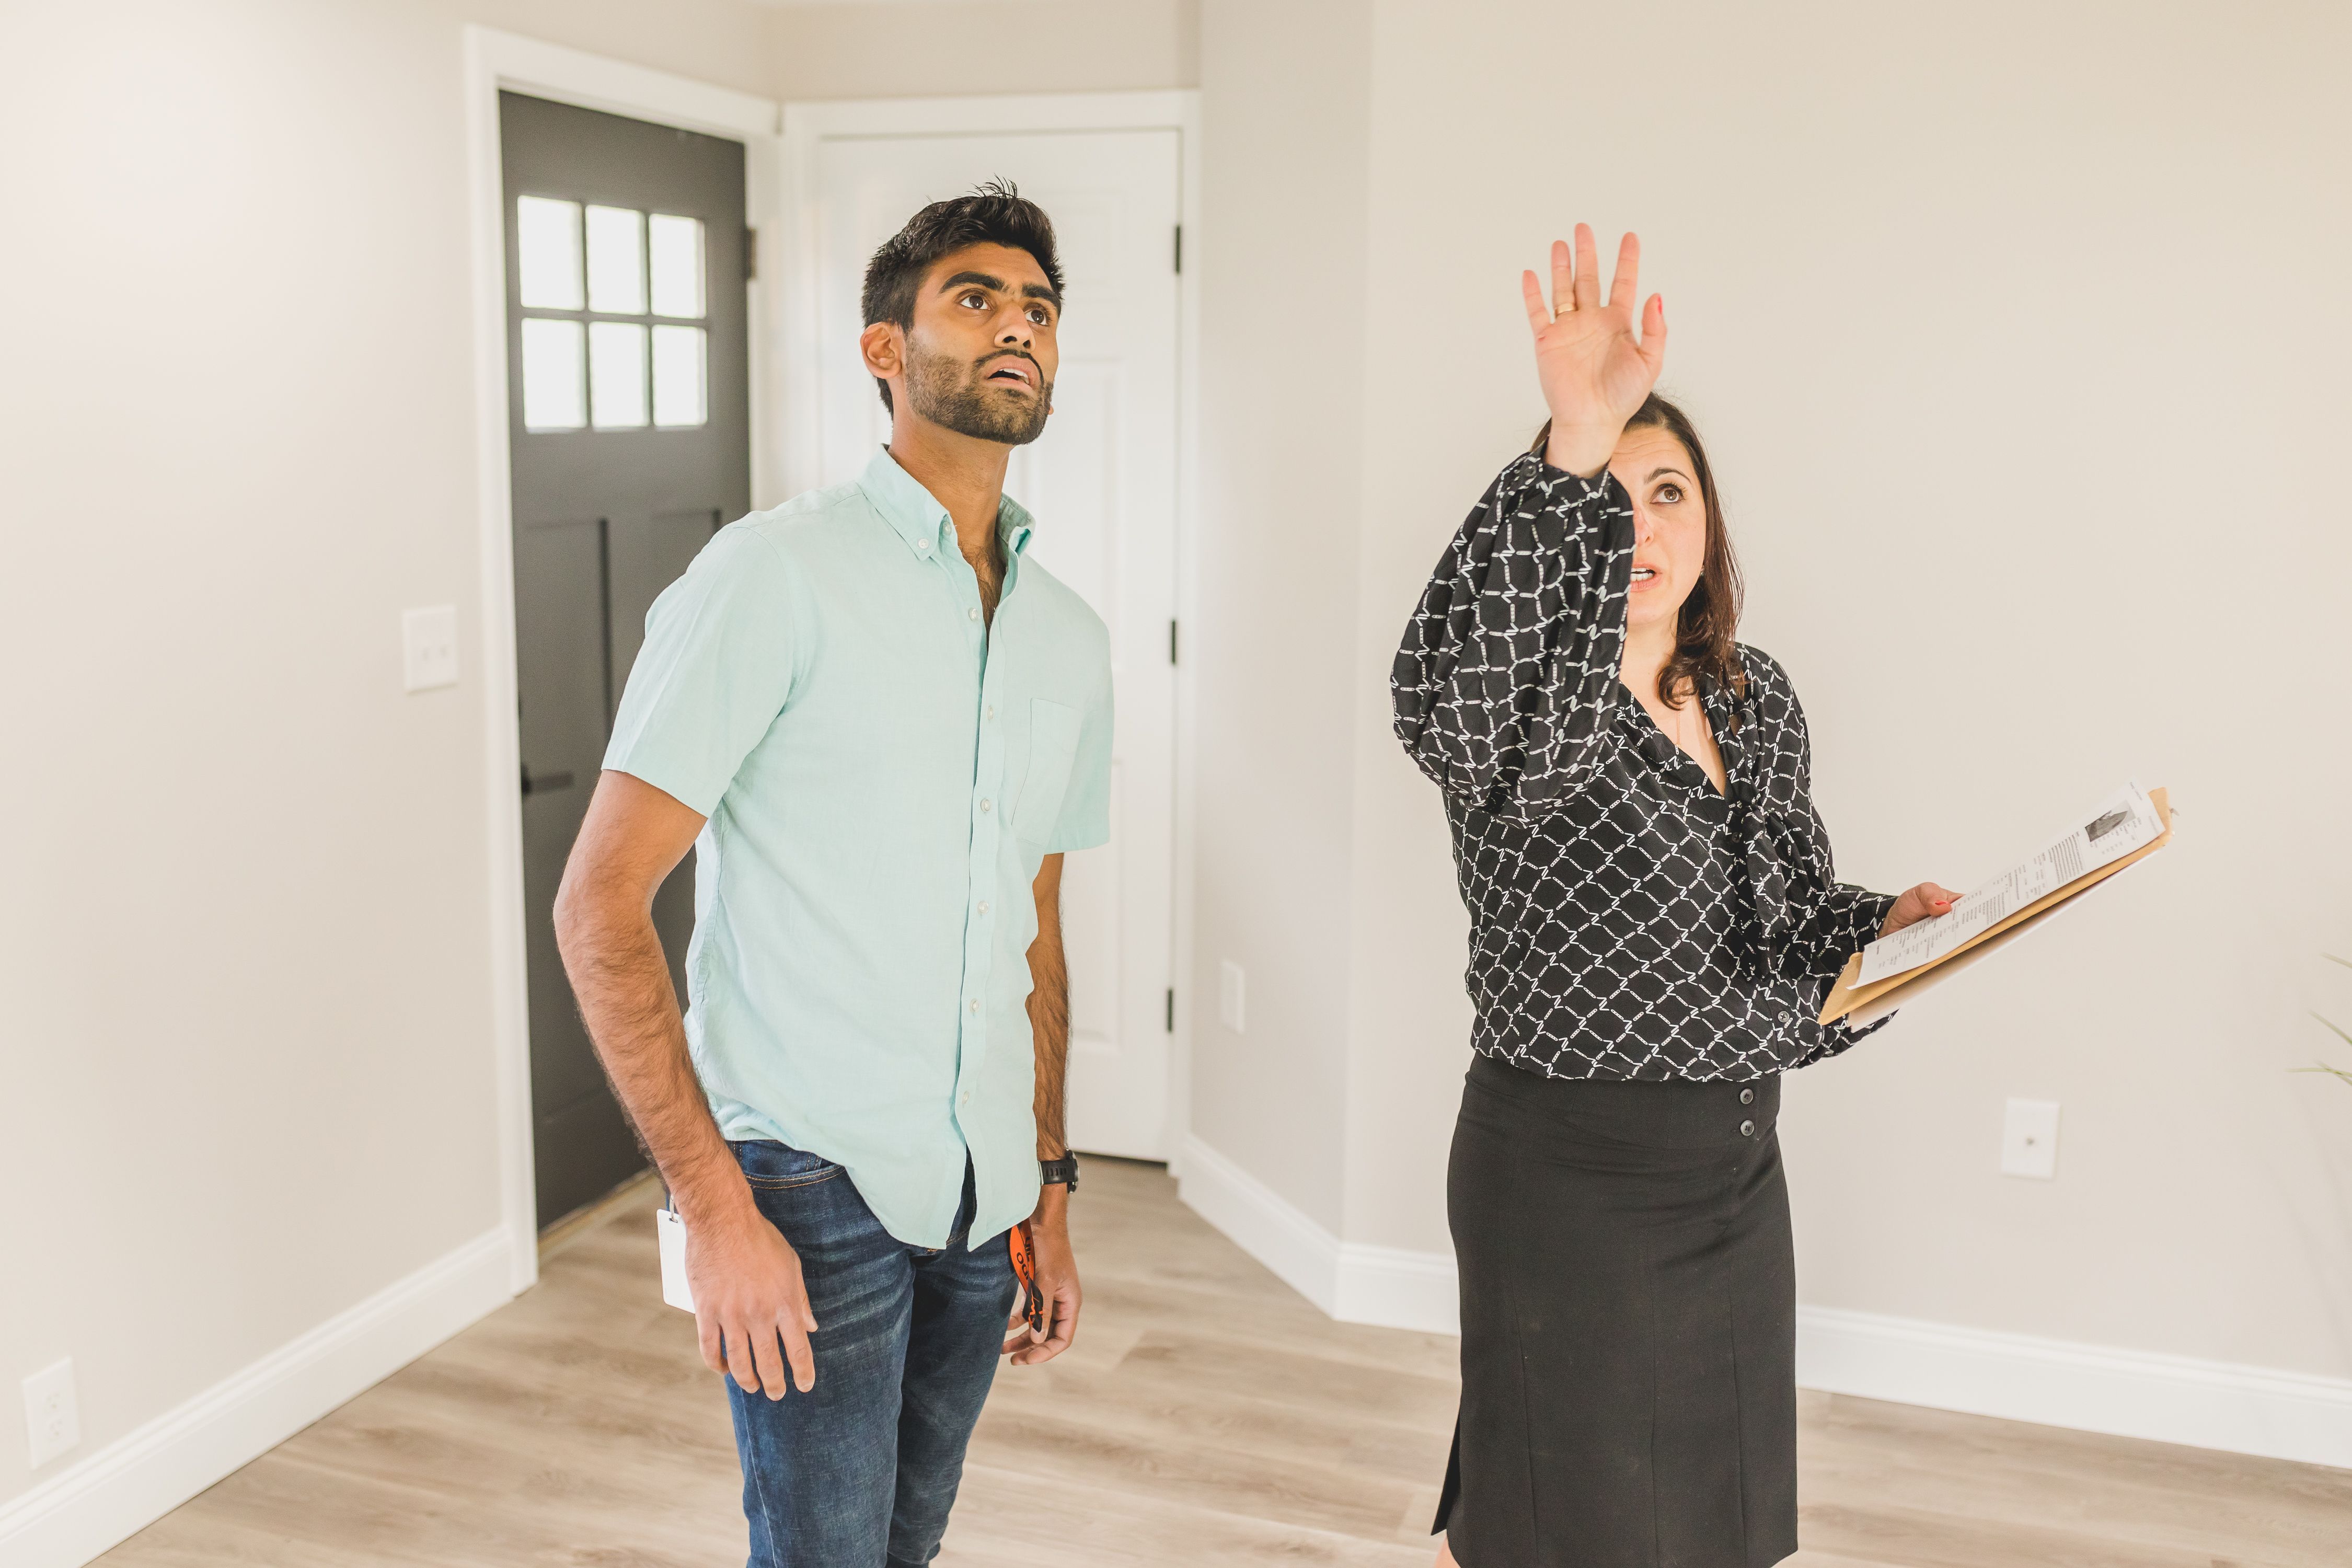
The big day is almost here. You’ve already toured the home, worked through the inspection, and signed enough paperwork to write your name in your sleep. The keys are close, and your mind is probably on moving boxes, furniture, and your first night in the new place. Before that happens, there’s one more visit to make: the final walk-through. It’s your opportunity to see the home after the seller has moved out and confirm that it’s in the condition you agreed to buy.
Your home inspection gave you a detailed look at the property earlier in the process. This visit focuses on what has happened since then. Were the agreed-upon repairs completed? Are the appliances and fixtures included in the sale still there? Did anything get damaged during the move?
Here’s how to make the most of that final visit.
Start With the Purchase Agreement
You’ve covered a lot of ground since making your offer, so this isn’t the time to rely on memory. Before the walk-through, review your purchase agreement, inspection report, repair agreement, and any written notes about what is included in the sale.
Take a few minutes to go over the details with your agent. What did the seller agree to repair? Is the refrigerator included? Are the window coverings staying? Should the seller be providing receipts, warranties, permits, or other paperwork? Those answers will give you a clear plan for the visit and help you focus on the details that apply to your purchase.
Look Closely Once the Rooms Are Empty
An empty home can look very different from the one you toured. Rugs, furniture, artwork, and boxes may have covered portions of the walls and floors during your earlier visits. Once everything has been removed, you’ll be able to see those areas clearly.
Walk through each room and look for damage that wasn’t there before. Check the walls, floors, ceilings, windows, and doors. Look under sinks for leaks and around tubs and toilets for signs of water. If there has been a storm or severe weather since your last visit, pay close attention to the basement, roofline, yard, and exterior.
Moving furniture may leave behind a few small scuffs or nail holes. A broken window, damaged floor, active leak, or missing fixture deserves a closer look. If you’re unsure whether something needs to be addressed, point it out to your agent and compare it with the terms of your agreement.
Test the Things Included With the Home
Ask your agent what you’re able to operate during the visit, then work your way through the appliances and basic systems included in the sale.
Run the faucets, flush the toilets, turn on the lights, and adjust the heating or cooling controls. Open and close the windows and doors. If the oven, dishwasher, refrigerator, washer, or dryer is included, make sure it’s still there and working as expected.
Remember the smaller items too. Test the garage door opener and doorbell, and look for any keys, remotes, screens, manuals, or accessories that should remain with the home. A garage door opener without its remote may sound like a minor detail until you’re standing in the driveway on moving day. Every sale is different, so let your purchase agreement determine what you check.
Pay Close Attention to Completed Repairs
Repairs can be surprisingly easy to lose track of after several weeks of inspections, negotiations, and paperwork. Bring the repair agreement with you and review each item one at a time.
If the seller agreed to repair a door, open and close it. If a leaking faucet was fixed, run the water and check underneath the sink. If the agreement required receipts, permits, warranties, or a follow-up inspection, confirm that those documents have been provided.
Some work, including electrical, roofing, and structural repairs, can’t be fully evaluated during a brief visit. In those cases, the paperwork or professional follow-up required by the agreement may tell you more than a quick visual review. Your agent can help you confirm what was promised and whether anything is still missing.
Keep Going After the Main Rooms
Once you’ve checked the kitchen, bathrooms, and bedrooms, it can be tempting to call it a day. There are still a few places left to visit.
Walk through the garage, basement, closets, storage rooms, exterior, and yard. If an attic or crawl space is safely accessible and part of the planned visit, take a look there as well.
These areas often held boxes, tools, or outdoor equipment during earlier showings. Now that they’re empty, you may notice damage or debris that was hidden before. Make sure the seller has removed their belongings as required and that any outdoor items included in the sale are still on the property.
Speak Up If Something Is Wrong
Finding a problem during the final walk-through can be stressful, but you don’t have to decide what it means on the spot.
Take photos, make a note of where the issue is, and tell your agent right away. Your agent can compare what you found with the purchase agreement, contact the seller’s representative, and involve the lawyer, attorney, or settlement professional handling the closing when necessary.
The options available will depend on your agreement and local rules. That’s why it’s important to raise any concerns before the transaction is complete. Once everything has been reviewed, you can turn your attention to the part you’ve been waiting for: getting the keys.
If you’re getting close to your own final walk-through, send us your questions. We’ll help you review the details of your purchase and know what to look for before closing day.
Thinking about selling your home?
Get in touch. We'll guide you through every step of the process to ensure a smooth transaction that meets your goals.


